Blinkinlabs
JTAG Hat
JTAG Hat
Couldn't load pickup availability
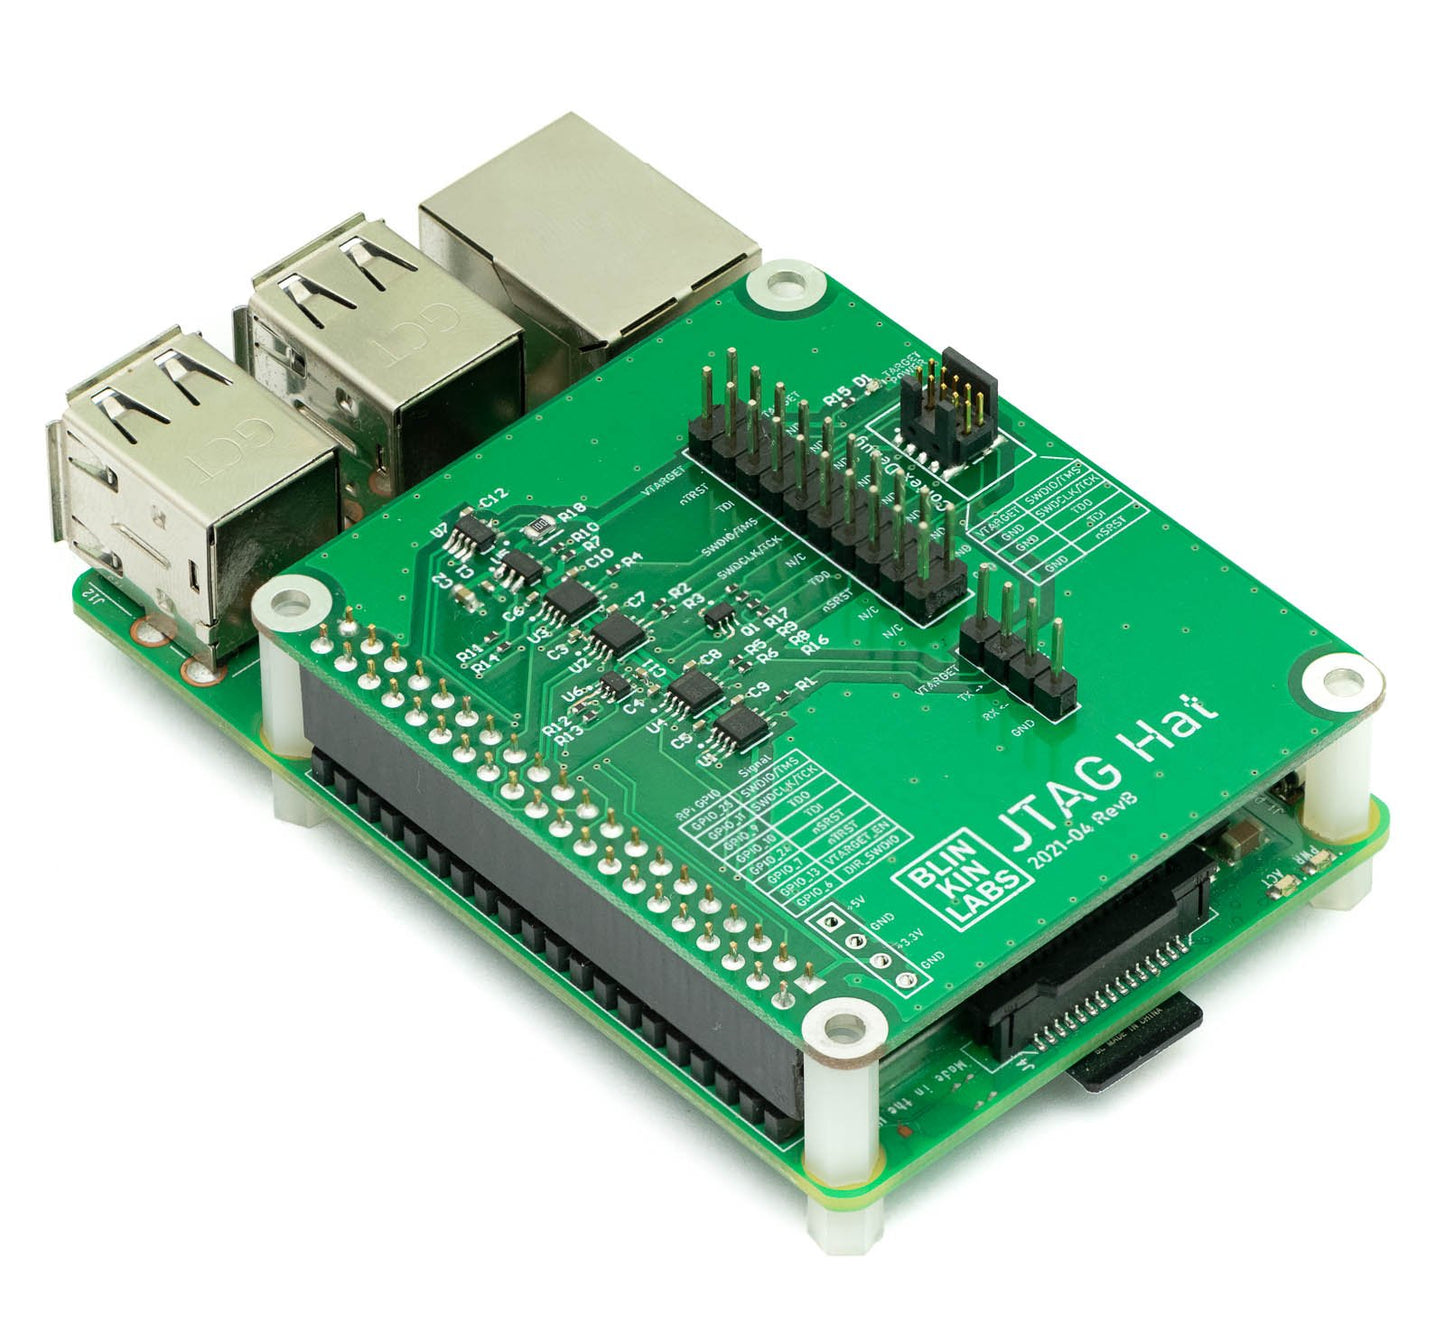
Convert your Raspberry Pi 2/3/4 into a networked JTAG debugger!
When developing embedded projects, I find it extremely helpful to have a hardware debugging tool available. The Black Magic probe works great for ST parts, but I often find myself reaching for a Raspberry Pi and OpenOCD for more flexibility. Unfortunately, that usually turns into a second project of looking for the proper combination of cables that will convert from the .1" headers on the RPi to the 1.27mm pins on our boards. So we decided solve the problem once and for all with the JTAG hat! The hat includes both the mini 1.27mm ARM Cortex header, along with larger 0.1" headers for easy connection to boards with older or no pins. While we were at it, we also added level converters/buffer drivers to make it possible to program devices at other voltages such as 1.8V or 5V. As a bonus, we also added a level-shifted UART interface for communicating with the target device, as well as a current sensor for measuring the power drawn by the target.
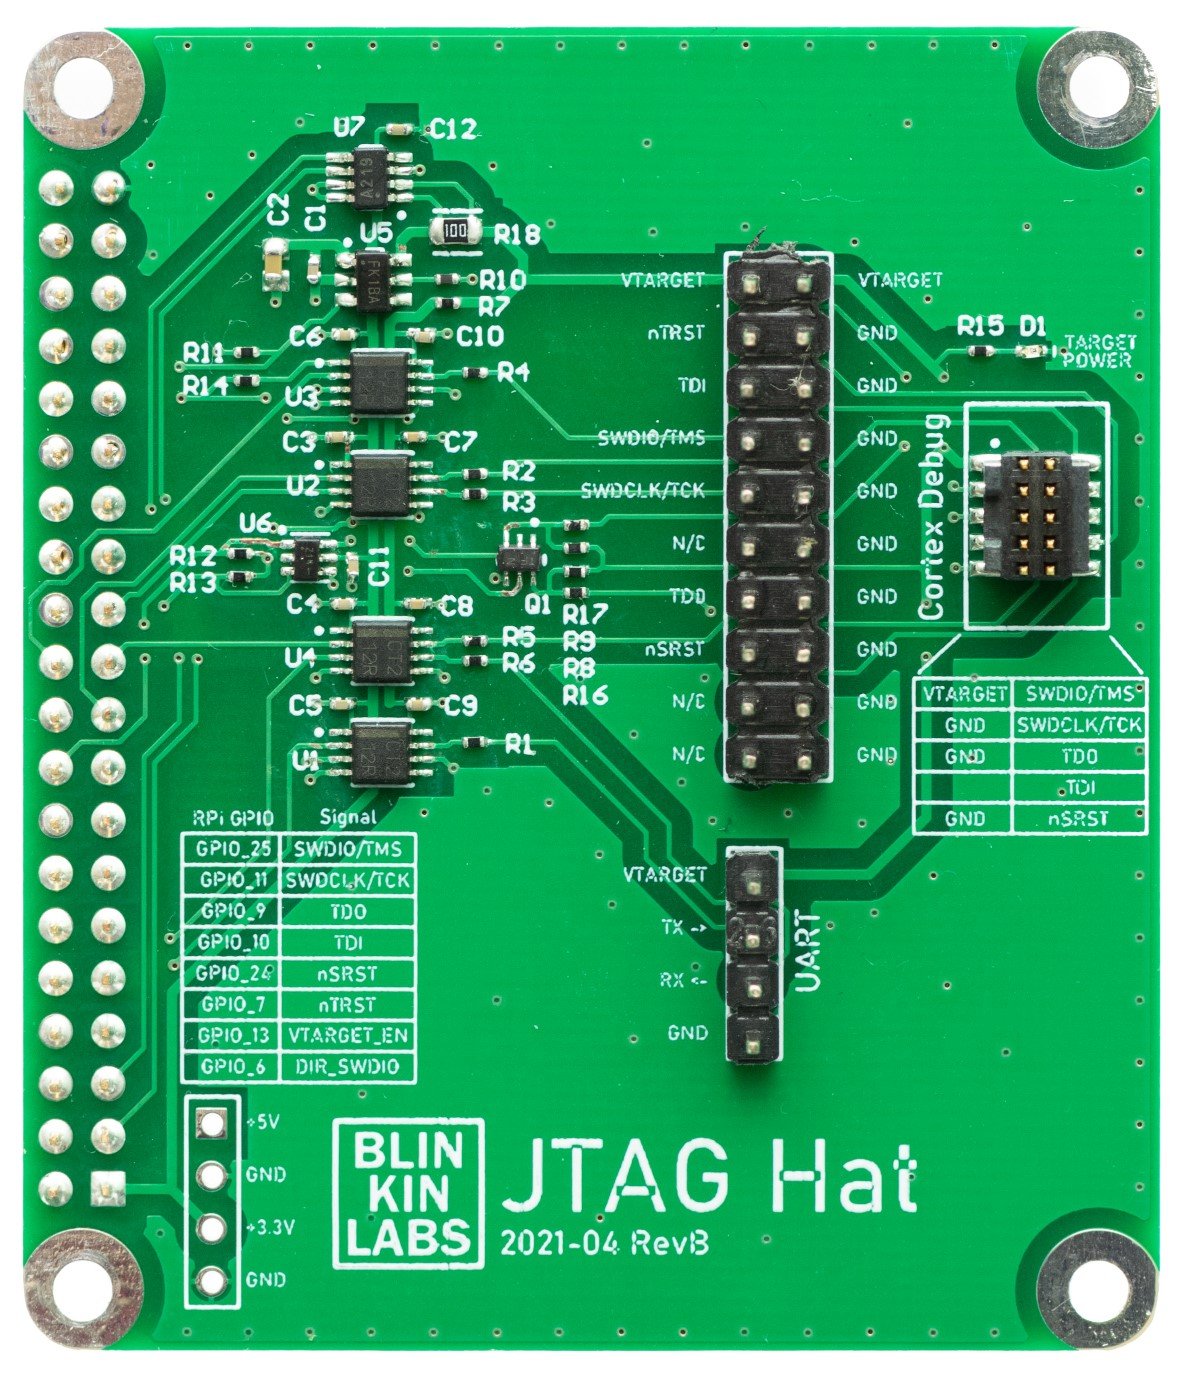
The JTAG Hat is designed to work with OpenOCD, and provides a .05" 10-pin Cortex Debug Connector, with pins to support debugging devices with either a JTAG (TCK/TMS/TDI/TDO) or SWD (SWDIO/SWDCLK) programming interface. A traditional .1, 20-pin JTAG header is also provided, which can be used with 0.1" jumper wires for more flexibility.
Features:
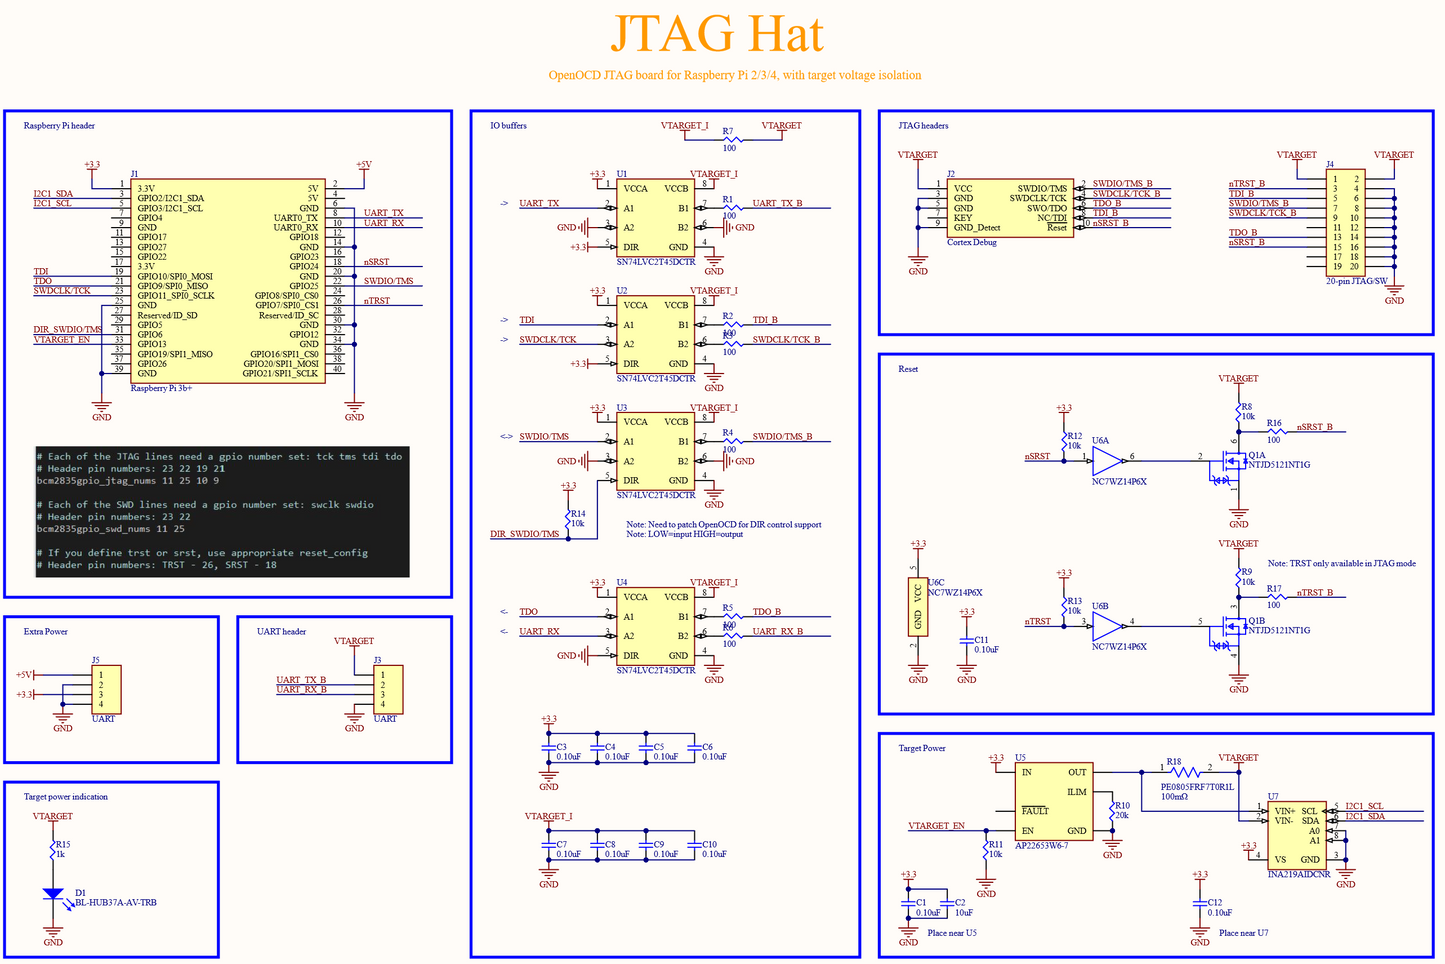
- Level-shifted JTAG / SWD programming interface, supports 1.8V to 5V targets
- Designed to work with OpenOCD, which supports debugging a large number of devices (STM32, ESP32, etc)
- Selectable target power, to power your device from the RPi 3.3V suppy
- Hardware reset (both SRST and TRST) via a pull-down transistor
- Level-shifted UART interface connected to RPi serial port
- Built-in voltage and current measurement of target device
What's included:
- JTAG hat PCB, populated and tested
- Nylon standoffs and screws to attach the hat to a Rasbperrry Pi
The Raspberry Pi and microSD card are not included; you'll need to provide those yourself. This can be a great use for an older RPi 3 or 2 that you might have sitting around, though it works equally well with the RPi 4.
You can also order Cortex Debug cable from our website if you don't have.
Setup Instructions and design files are available on GitHub.
Share


